
The standard Yate license is valid for activation on two Macs at a time. This document describes how to activate, deactivate and move your Yate settings to a new Mac. It also describes a process to sync the settings between two instances of Yate.
You will automatically be presented with a panel when an instance of Yate has to be activated. This is typically after the trial period has ended. However you can activate at any time when Yate is not activated by doing a Help>Activate or Yate>Setup>Activate. If the Help menu does not have the Activate command it means that you're already activated ... you'll see a Help>Deactivate command.
If you're getting a message stating that This product key has been exhausted. Please contact us it means that you're attempting a third concurrent activation. Typically this means that you did not deactivate a previous installation of Yate or that you did a clean install of the OS. If this happens reach out to us at support@2manyrobots.com with your purchase email address. If you can't remember which email address you used the activation code should suffice.
When activating, you'll see the something similar to the following panel:
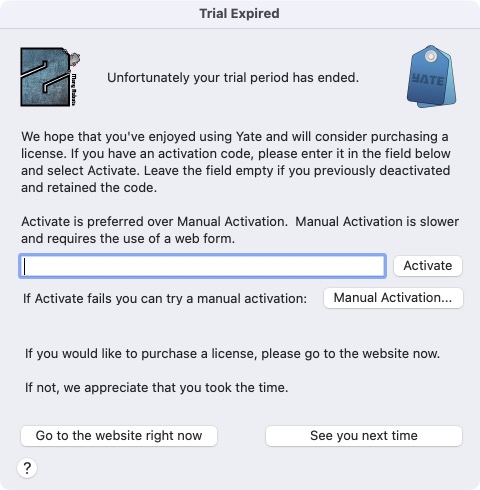
Typically you only have to paste in your activation code and hit the Activate button. If for any reason you've deactivated and kept the code, you can leave the field empty and hit Activate. The entered code must contain every character in the code that was emailed to you.
In order for an activation to work you must have network access. If an error message is displayed, please contact us at support@2manyrobots.com with a screenshot of the error message. Please do not simply say the activation did not work ... we need to see the error message.
If you get an error message referring to issues with the Mac's SSL certificates, you can do a Manual Activation.
Macs running older versions of the OS may have old or invalid SSL certificates. This prevents a secure connection to the license server. When this occurs a manual activation, which is web based, can solve the issue. After entering your activation code and specifying Manual Activation you will be prompted with a webpage similar to the following:
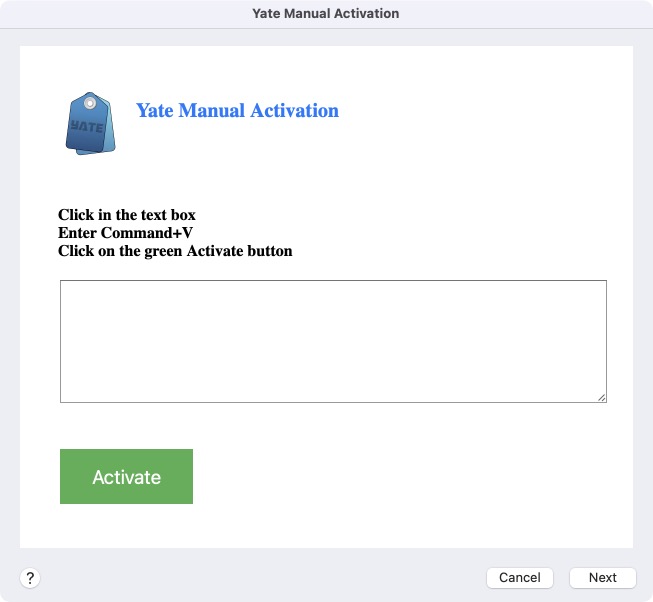
Yate will automatically have copied the required activation content to the system clipboard. Paste the file's content into the empty text box on the webpage then click on Activate. The webpage will change as follows:
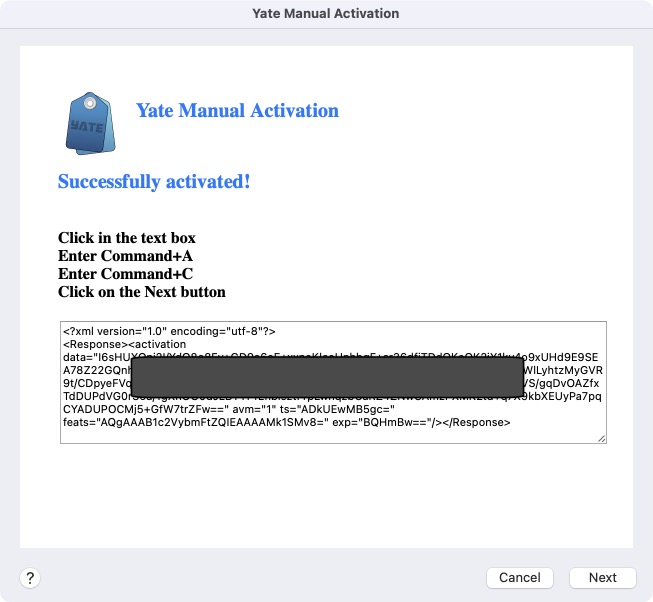
You have to copy all the text in the displayed text box to the system clipboard and then click on the Next button. This will complete the manual activation.
The standard license only allows for two concurrent activations. There are two scenarios that the license manager cannot handle. You're getting rid of a Mac or you're going to do a clean install of the OS. In both these cases you should deactivate the license first. If you do not, an activation count will be lost and and some point you'll have to reach out for help with your license.
To deactivate select Help>Deactivate or Yate>Setup>Deactivateand you'll see a panel similar to:
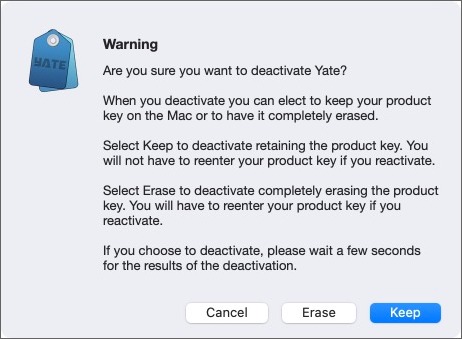
In almost all cases you want to Erase ... especially if you're getting rid of a Mac. The only time you should use Keep is if you're temporarily moving the license to a different Mac.
As with the Activate functionality, you need network access when performing the deactivation. If you get an error complaining about SSL certificates, try a Manual Deactivation.
If the SSL certificates on your Mac are too old you will not be able to deactivate the license. To ensure that a license is reclaimed on the license manager's server, you should do a manual deactivation via Help>Manual Deactivation or Yate>Setup>Manual Deactivation. After confirming that you want to deactivate you will be presented with the following webpage:

At this point Yate has been deactivated on the Mac. The remainder of the process is to reclaim the license count. Yate will automatically have copied the deactivation content to the system clipboard. Paste the deactivation content into the empty text box on the webpage then click on the Deactivate button. The webpage will change to indicate that the deactivation was a success. Click on the Done button. Yate will close.
You've probably spent a lot of time configuring Yate. It is possible to preserve all your settings and actions when moving to a new Mac. The only thing not preserved is font sizes.
Migrating your settings is a two step process. In the first step you must export you're current settings via a Yate>Export Settings on the old Mac. Note that this process is done automatically for you whenever Yate is run. The auto-backup files are stored at:
~/Library/Application Support/Yate/Backups
The following text describes how to do it manually. Yate>Export Settings will display a panel similar to:
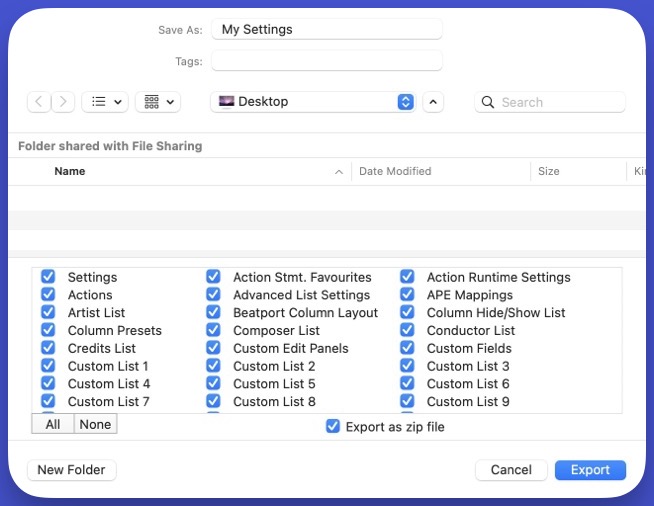
It's a good idea to hit the All button in case you've ever changed what is being exported in the past. Name the file to be produced and hit Save.
After you've created the file, copy it to the new Mac.
It's best to do the import on the new Mac before you've started using Yate on it. When doing the import you should not have any files loaded or any windows other than the main window open.
If you've been using Yate on the new Mac already and you want the settings to be an exact copy of what was exported, do a Yate>Reset Settings before doing the import. The reset is on the new Mac! This ensures that there will not be any extra data in the application settings. For example if your new Mac has an action which was not on the old, it will not be deleted by the import. The reset is an optional step.
To do the import select Yate>Import Settings. You'll see a panel similar to:

Again, it's a good idea to hit the All key in case you've ever changed what is being imported in the past. Also, make sure that Overwrite is selected. In the file browser portion of the panel select the file that you copied from the old Mac then hit Open.
At this point you'll have imported the settings from the older Mac. If you are no longer going to use the old Mac, don't forget to deactivate it.
There is a mechanism to automatically sync settings between instances of Yate running on different Macs. This is done by using the setting import/export system. A file is designated to be the auto import/export settings file. This file is kept in a location accessible to every copy of Yate. The location can be a shared folder such a Dropbox or Google Drive folder. It can also be any always mounted location. The feature is enabled by selecting the Auto import/export settings file option in Settings - General - Advanced and then by choosing a file and optionally configuring what metadata gets synced. Detailed instructions are given at the end of this section.

When the option is enabled and Yate terminates, the current application settings will automatically be exported to the specified file. Note that the Auto import/export settings file option is never written to the file.
When the option is enabled and Yate starts, the settings file will automatically be imported if the file was not written by the same copy of Yate. Note that the import is a complete overwrite. It is not a full or partial merge of values normally performed when importing settings.
There is a scenario where incorrect values could be written to the file. For example: Yate-1 has the option enabled and terminates. At this time the common file contains the settings values used by Yate-1. You now start Yate-2 and enable the option. If you now terminate Yate-2, its potentially different values will be written to the common file. To handle this situation, whenever you enable the option and select a file which already exists, you will be prompted to import the values in the file immediately. Importing the values ensures that the correct contents will be written to the file when Yate-2 terminates.
This mechanism only works if your shared drive is working as expected. ie. if you move from one Mac to another, the shared drive must have synced prior to opening Yate. Locally mounted shares are always up to date. Cloud based shares have to synchronize.
In order to work correctly, the sync file must be the same file and must have the same zip setting in each instance of Yate. The functionality will only work if you are using a single copy of Yate at a time. This is critical as Yate syncs when opened and updates when closed. If you're syncing multiple instances of Yate do not leave Yate open when you're done using it.
With a little common sense this method should allow you to maintain a single set of settings. If for any reason you mess up, remember that Yate automatically creates a backup of the settings each time the application is started. The number of auto backups retained is configurable in Settings - General - Advanced.
If you start or terminate Yate with the Shift key held, the sync process is skipped.
On the same settings panel you can assign a unique name to a Yate instance. This is the Yate UID. In an action you can extract the Yate UID via the \yi escape sequence.
Steps to Enable Syncing Between Yate-1 and Yate-2